6 min read
Edit Text on the Canvas, Drop Images Anywhere, Style Every Screenshot at Once

Dan DeaconuCEO & Designer, AppMockUp
- Product Update
- Workflow
This update is about the trips you no longer make. To the properties panel to change a word. To the file picker to swap an image. To nine other screenshots to repeat what you just did on the first.
Text is now edited where it stands, images go wherever you drop them, and a style you like reaches every screenshot in one click.
Edit text directly on the canvas
Double-click a title, subtitle or caption and a caret appears in it. Type, and the layer updates as you go. There is no field to find first.
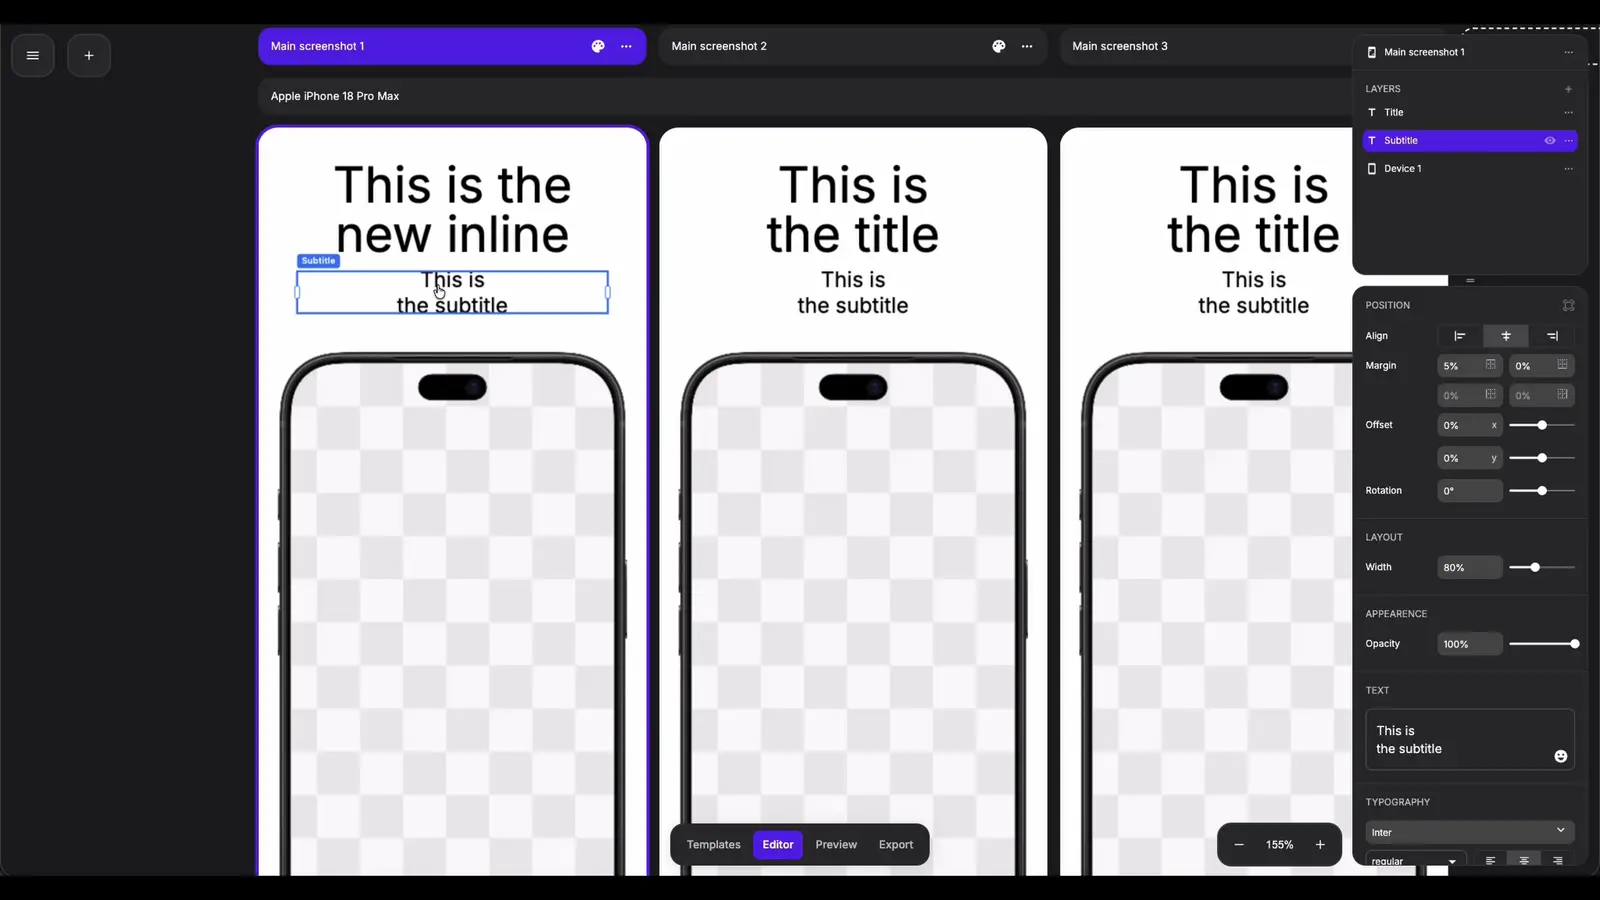
Every key and rule of the inline editor is listed
here.It behaves like a text box
Click to place the caret, drag to select, double-click to select a word. Arrow keys, Home and End move as they do anywhere else, shift extends the selection, and Ctrl/Cmd jumps by word or line. Enter starts a new line. Escape, Ctrl/Cmd+Enter or a click outside the layer finishes.
One edit, one undo
Ctrl/Cmd+Z inside the editor steps back through what you typed. Once you leave, the whole session is a single step in the project's history, so fixing a twenty-letter title no longer costs twenty undos.
Word styling stays on its word
Backgrounds, decorations and flairs are attached to words by position, and editing the text used to slide them onto whichever word inherited the slot. Now words you did not touch keep their styling, typing inside a styled word keeps it styled, and splitting one leaves the styling on the first half.
Per-device text, too
On an instance screenshot, double-click edits the text that device actually shows. Ctrl/Cmd + double-click creates an override for that device from the shown text and starts editing it, and the two undo together.
While the editor is open, keyboard shortcuts stand down: typing a number does not switch screenshots, and delete removes a letter rather than the layer. Rotated text is edited in place, with the caret following the tilt.
Double-click opens what you meant
Double-click used to swap between the main screenshot and its instance, which Ctrl/Cmd + click already does. It now opens the thing you were most likely reaching for.
On a title, subtitle or caption it opens the inline text editor.
On a device, grouped device or hand device it opens the file picker for its screen capture.
On a background, icon or image with an image fill it opens the file picker for that image.
Drop or paste images onto anything
Drag an image file over a screenshot and the layer under the cursor lights up with a label, such as "Drop on Device 1". Let go and the image is applied.

All the ways to set an image are described
here.On a device it becomes the screen capture.
On a title, subtitle, caption, icon or image it becomes the image fill.
On the background it becomes the background image. In Background Mode, drop onto the panoramic canvas to set the panoramic fill for that device.
Only the image itself changes. Scale mode, opacity, overlay gradient and effects survive, so a fill you spent time tuning keeps its look with the new picture.
From the clipboard as well
Copy an image anywhere, in a browser, in Figma, from a screenshot tool, and Ctrl/Cmd+V applies it to whatever is selected, following the same rules as a drop. With nothing selected, paste offers to make a new screenshot from the image.
Turn a folder of images into screenshots
Drop one or more images onto the empty stage or the Add Screenshot button, and a dialog makes one screenshot per image.
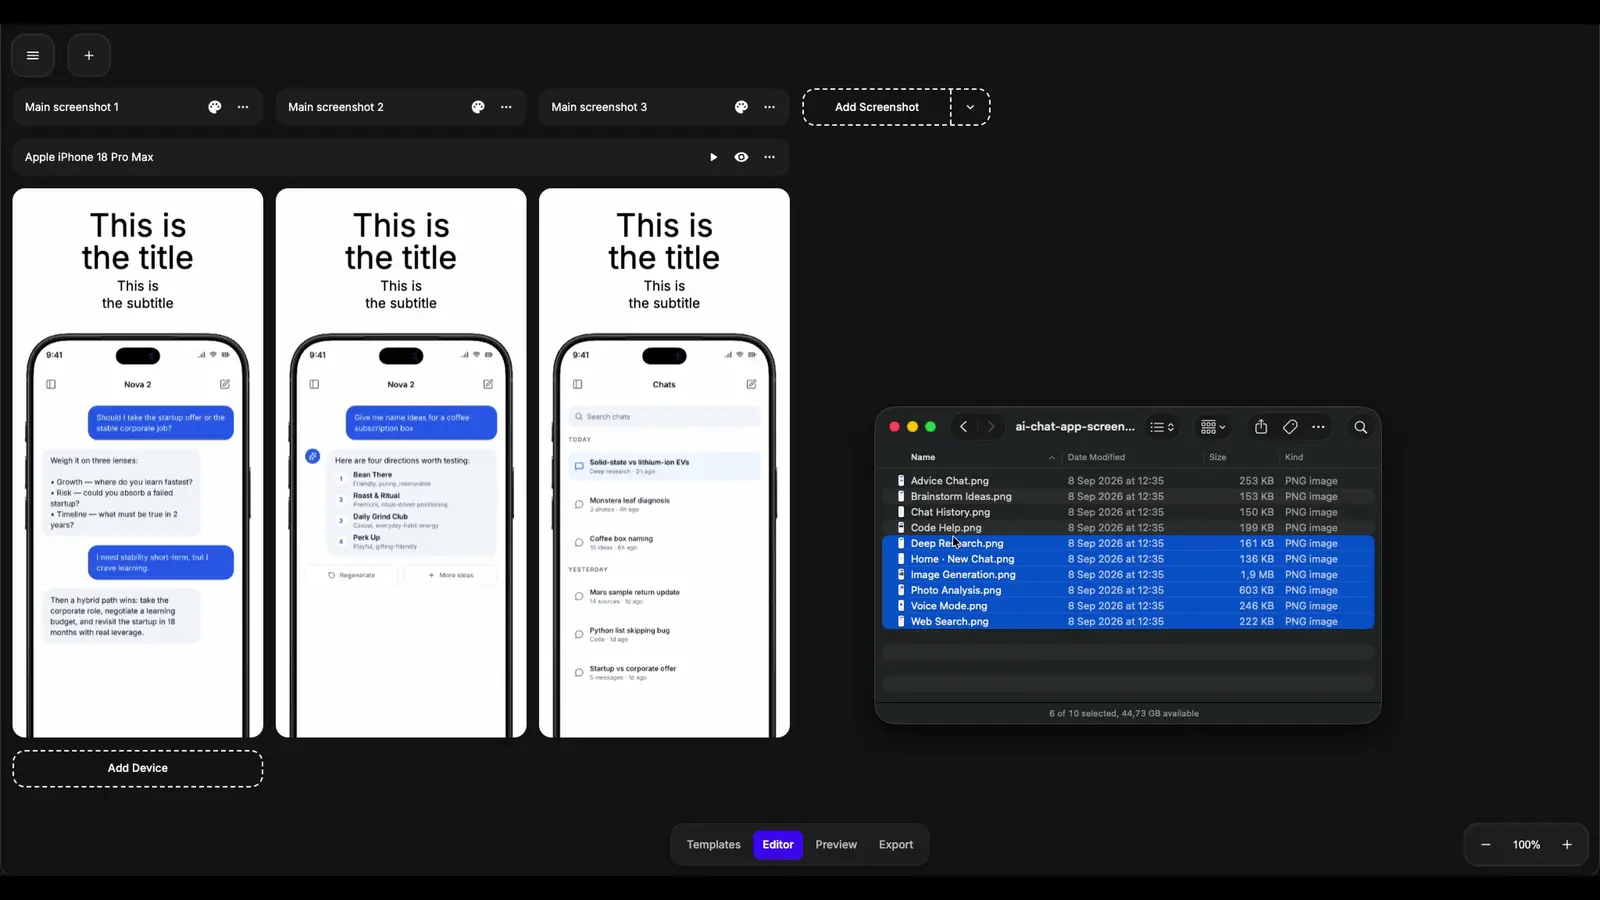
The steps are written out
here.As the device screen
The image fills the device in a fresh screenshot from the normal template. This is preselected when the image's shape matches the device's screen capture, which is what you want for a folder of app captures.
As the background
The image becomes the background fill, with the layers on top.
Or start from blank ones
The Add Screenshot button is now a split button. The main half still adds one screenshot; the chevron adds 2, 3 or 5, or fills the project to 10.
A batch is one undo step. The dialog refuses a batch that would pass the ten-screenshot limit and says how many still fit, and a file that cannot be read adds nothing rather than a broken screenshot.
Apply a layer's style to all screenshots
Restyling the same title, device frame or icon on every screenshot by hand is over. Every layer's right-click menu and every row of the Layers panel, the background included, offers Apply Style to All Screenshots.

What is copied and what is left alone is listed
here.What is copied: fills, font, stroke, shadow, device frame and screen decoration.
What stays per screenshot: text, screen captures, placement and visibility.
One action, one undo step. This release also fixes Paste Style on the canvas, which silently did nothing.
Continue a device onto the next screenshot
The panoramic device, one phone running across two neighbouring screenshots, is among the most recognisable looks on the stores. It used to mean placing two devices by eye and nudging until the seam disappeared.
Right-click a standalone device and pick Continue on Next Screenshot or Continue from Previous Screenshot. If the neighbour has two device slots, a submenu names them. Hand devices continue as hand devices.

The steps are written out
here.The twin is placed by arithmetic, not by eye: aligned to the opposite edge and offset by exactly one screenshot width plus the gutter the stores draw between screenshots, so the device reads as one piece in the listing.
Both halves switch to absolute positioning, so their height stops depending on the text stacked above them. One undo takes both back.
Smaller things you will notice
- Click the empty stage to deselect. Escape used to be the only way to end up with nothing selected.
- Undo history is 100 steps, up from 20.
- Hover labels. Hovering a layer shows its name in a pill on its top edge, tilted with the layer when it is rotated.
- Ctrl/Cmd+Shift+H hides the selected layer. On an instance it hides it for that device only.
- A + on the Devices panel opens the device picker in place.
- Saturation and brightness sliders in the colour picker are optional, off by default and switched on from the View menu.
- The mesh gradient editor takes the crop editor's layout: a full canvas, a floating title bar with Cancel and Done, and the same settings panel.
- Menus line up, with a fixed column for check marks, and Background Mode and Fast Text Edit Mode now show a check when on.
Faster to open
Three.js and the emoji picker now load only when something needs them, the mesh gradient generator for instance. The editor's initial download drops from 4.80 MiB to 3.72 MiB, so the canvas is ready sooner on a slow connection.
The best interface for changing a word is the word itself.
Everything here is live in AppMockUp Studio now, free and without an account. Open a project, double-click a title and start typing.
Missed the previous release? It brought the iPhone Duo, eleven new devices and handles for editing on the canvas.
No account required.
It's fast & free.